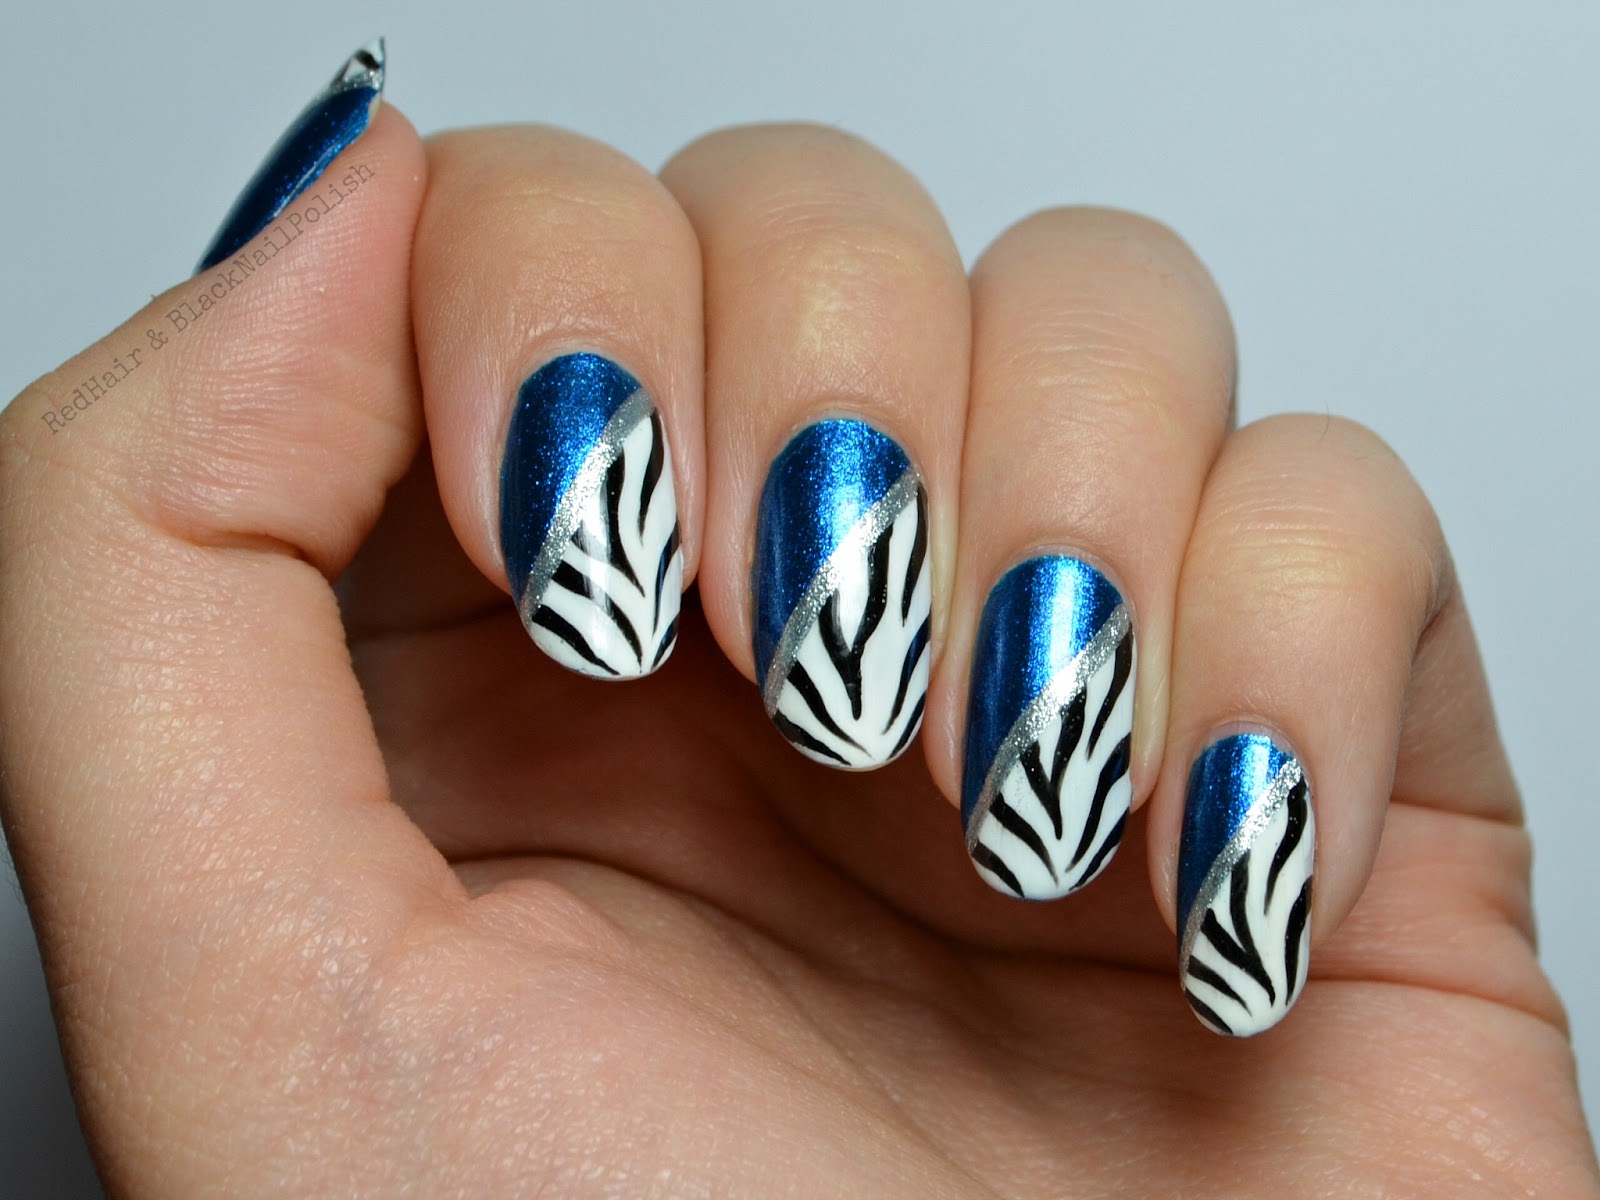
Good morning, my dear readers! :)
I just woke up and thought: let´s do another tutorial! :P The Zipper Zebra Manicure was on the second place in my poll and it´s my favorite, so here it is!
Step 1: Apply a base color of your choice, best would be a light color, to create a good contrast to the zebra pattern. I used 2 coats of Essence 50´s LE - Ahoy!
Step 2: Cut a piece of scotch tape in a triangular shape and put it on the tip of the nail. Make sure the polish underneath is completely dry! The tape is hard to see in the pic, but I think you get the idea ;)
Step 3: Now cover the whole nail with another polish of your choice, I used Essence - Purple Diamond. 1 coat should be enough, especially over a white or a light base.
Now to the fun part: remove the tape slowly, while the polish is still wet!
Voilá! It´s not a problem, if the lines are not perfect, cause you will cover them anyway :)
I don´t know how I managed to make this dent in the polish, hm..weird :P
Step 4: Now take a tip painter or a small brush to make some thin lines. A black polish is the best choice for this step, but you can be creative ;) First outline the triangle and then draw a straight line to the base of the nail. Basically you have to paint a "Y" on the nail :)
Step 5: This step can be done in many different ways. You can leave the plain polish to have a simple zipper mani, you can do a zebra pattern or a leopard pattern or just dots. Just do it the way you want it :)
Step 6: Last but not least: put some dots along the "Y" - shaped lines to make the zipper look more realistic. If you drew the lines to thick, the dots won´t show that good, but hey...practice makes perfect ;)
That´s the final result :) Have fun recreating this look and let me know in your comments how it worked out for you! :)
Have a nice day! :-*